
さとう大臣です。
AppleWatchの音声入力の方法について書いていきます。
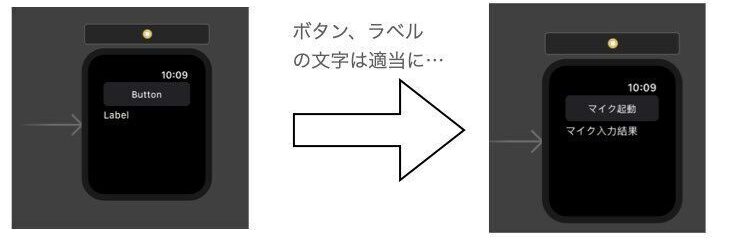
ゴール
全コードと挙動を…
コード
import WatchKit class MicrophoneInput: WKInterfaceController { @IBOutlet weak var label: WKInterfaceLabel! @IBAction func buttonPush() { // 音声入力時の候補 let suggestions:[String] = ["東京","博多"] // 音声入力画面を表示 presentTextInputController(withSuggestions: suggestions, allowedInputMode: WKTextInputMode.plain, completion: onTextInput(argtext:)) } func onTextInput(argtext:Any?){ // 引数がnilでない(マイク入力されている)場合 if argtext != nil { // String配列にキャスト let text:[String] = argtext as! [String] // ラベルに表示 label.setText(text[0]) } } override func awake(withContext context: Any?) { super.awake(withContext: context) } override func willActivate() { super.willActivate() } override func didDeactivate() { super.didDeactivate() }}
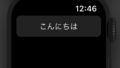
挙動
実装
StroyBoard
InterfaceControllerに、ボタンと、ラベルを配置する。
InterfaceController(コード)
StoryBoardからラベルと、ボタンをアウトレット接続します。

「WKInterfaceController」クラスの「presentTextInputController」メソッドを呼び出すことで音声入力画面が表示されます。
第一引数のwithSuggestionsは、入力候補(Stringの配列)を事前に渡すことができます。
第三引数のcompletionは、音声入力画面から戻ってきた時の処理を渡します。今回は、『onTextInput(argtext:)』を作成してそれを渡しています。
onTextInput(argtext:)では音声入力画面の戻りをラベルに表示しているだけです。
以上

コメント